Updating Objective-C Frameworks for Swift Package Manager
Intro
You have a dusty old Objective-C framework that you want to publish as a Swift Package Manager Library. Here’s how.
iStumbler Labs publishes a number of Objective-C frameworks and they all need updating to work with Swift Package Manager:
- KitBridge — KitBridge allows you to create views which can be used in iOS, iPadOS, macOS, and tvOS applications.
- SparkKit - Small, Simple and Fast; Line, Pie, Dial, Bar, Ring, Stack and Grid Views for macOS, iOS and tvOS
- CardView – A Good looking subclasses of NSTextView & UITextView
- FourCorners - Utilities to make working with CoreLocation easier
- LiveBundle — LiveBundle is a category which provides dynamic updating of resources from your web server
- Soup – An object oriented persistence framework from iStumbler Labs modeled on the Apple Newton API
- IcedHTTP - A very small HTTP Server framework suitable for embedding into iOS or Mac OS Apps
Updating all of these for Swift Package Manager was a bit of a chore but there’s an easy to implement process to make it less painless.
Follow the Project Layout Conventions
Swift Package Manager (SPM) expects a particular source code layout, e.g.
Project/
  Project.xcodeproj  ← Not strictly necessary for a Swift Package, nice to have
  Package.swift      ← Defines the products, dependencies, and targets for Project
  Sources            ← Source code for all your projects
    Project          ← Name of the library target
      includes       ← Header files go here
    Tests            ← Test target
    projectctl       ← Command Line Tool
It’s possible to configure different locations for source files and includes, however it’s easiest to follow the SPM convention, as this simplifies the package description and makes it easier for other developers to understand the project structure.
Example Project
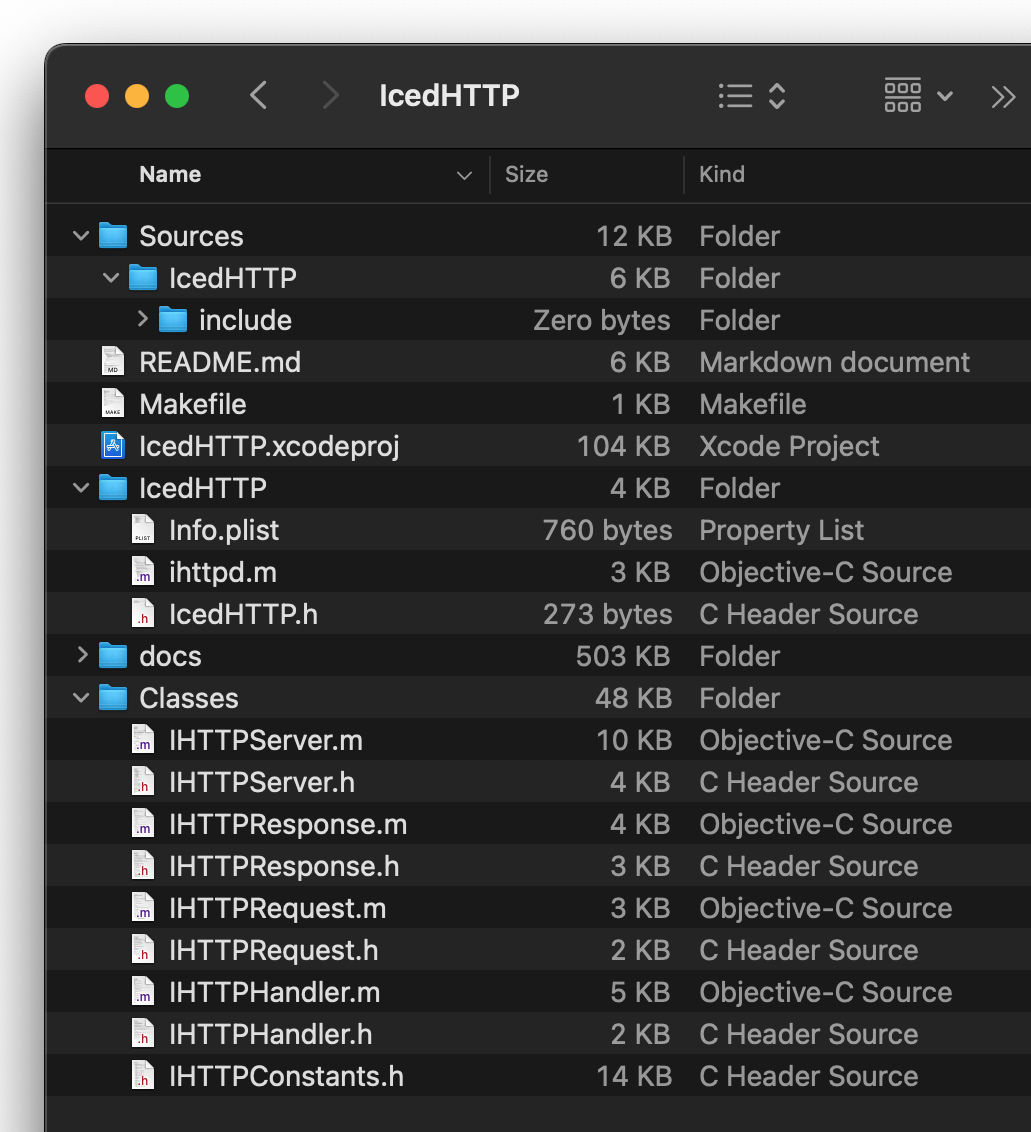
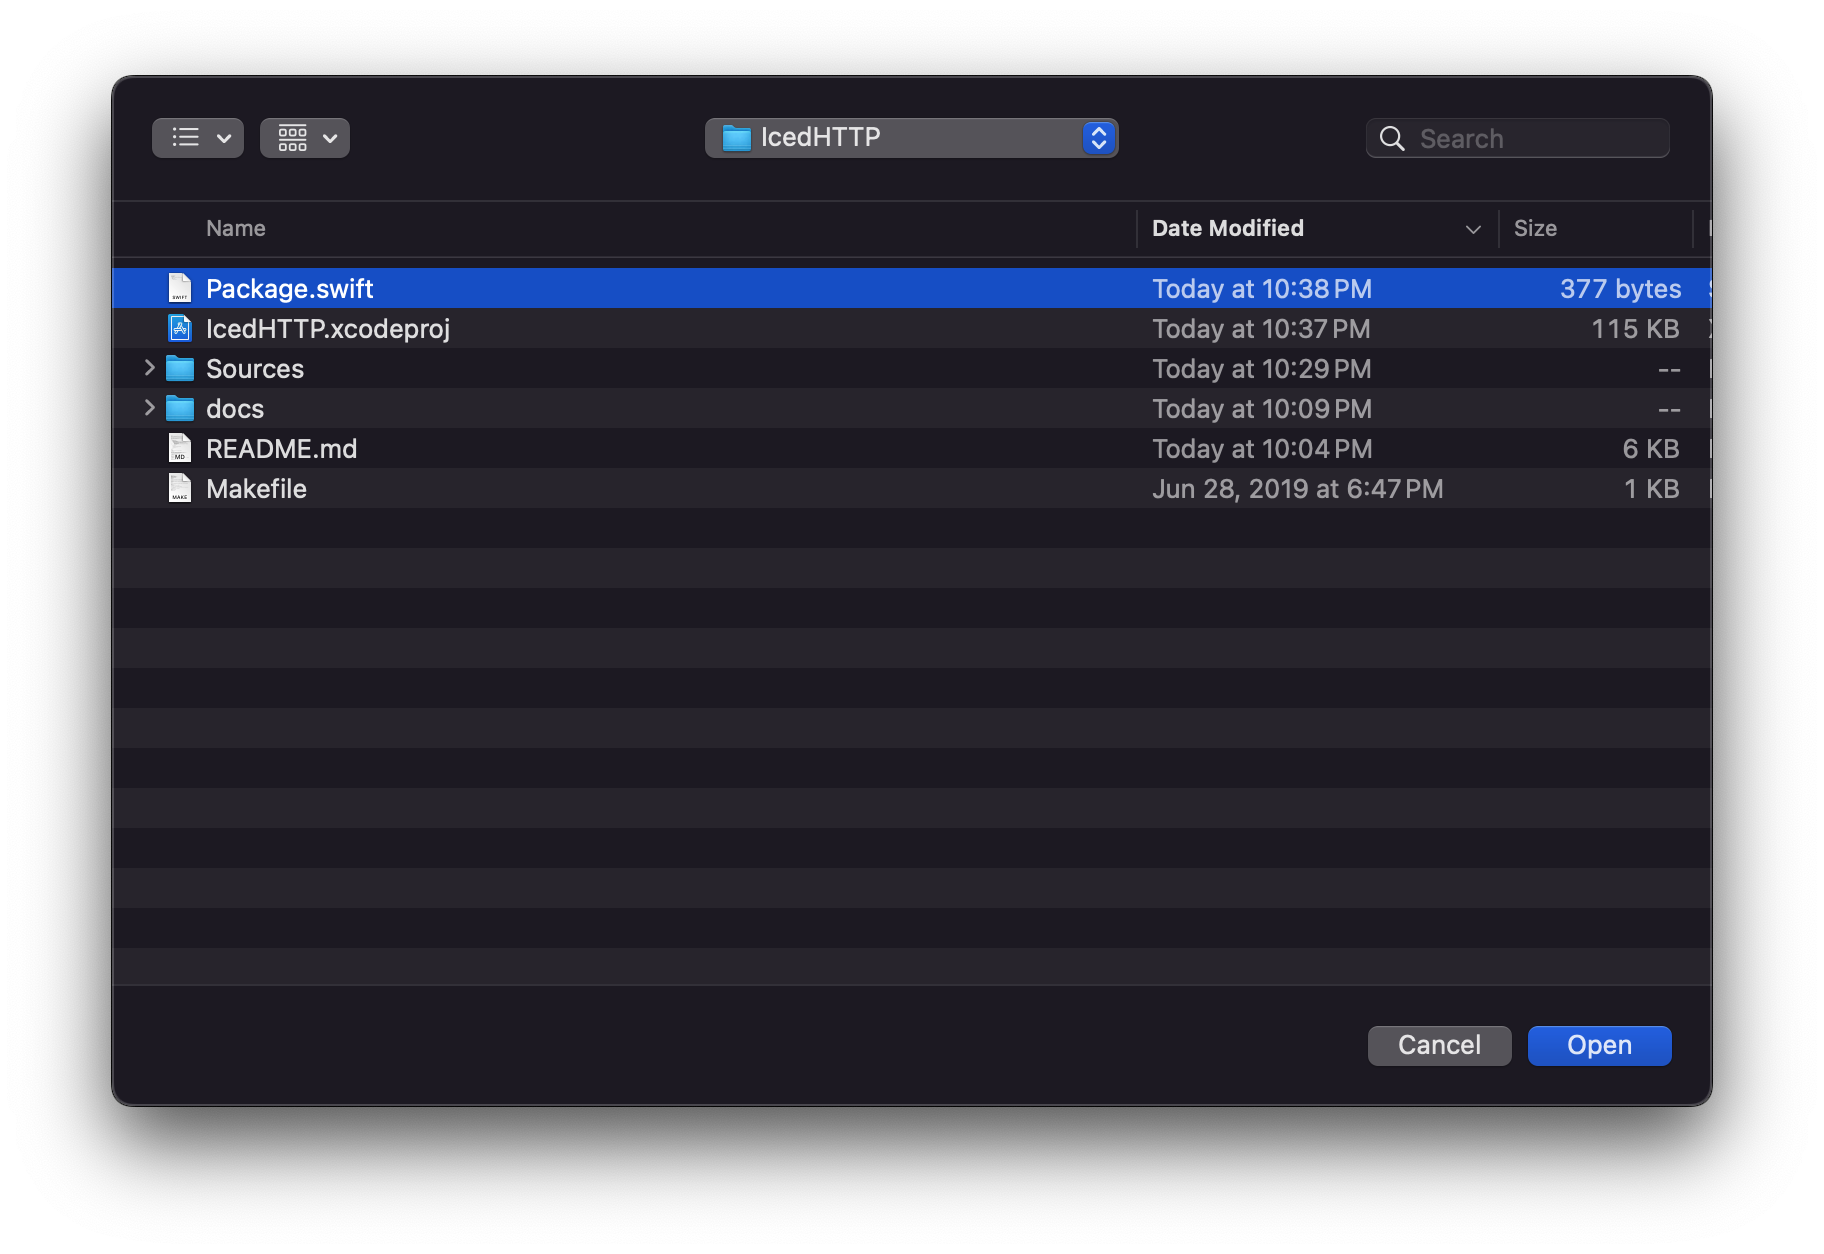
We’ll use IcedHTTP as an example, here is the finder layout:

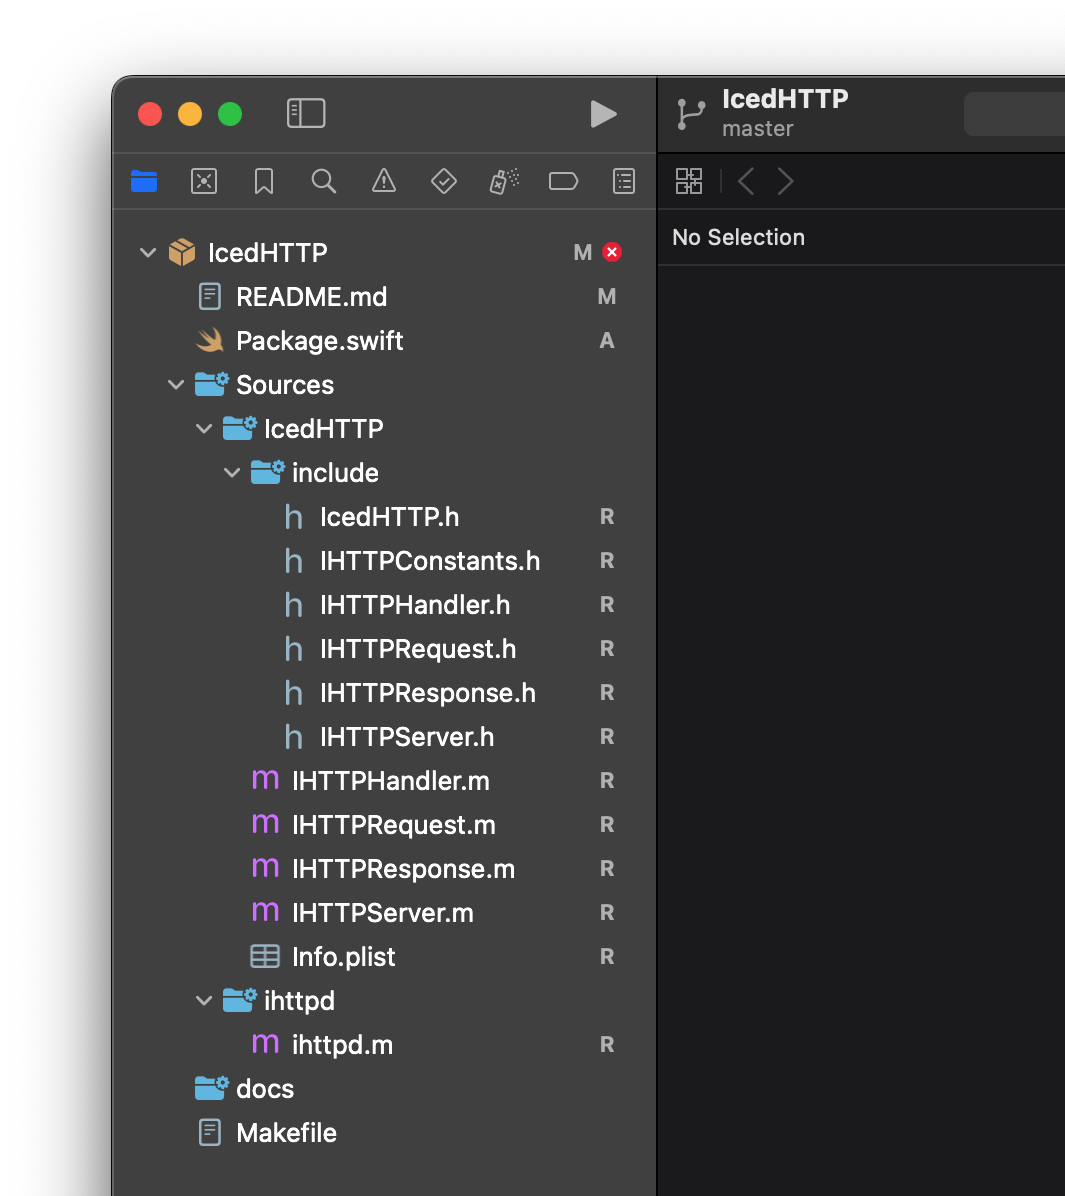
And the Xcode project layout:
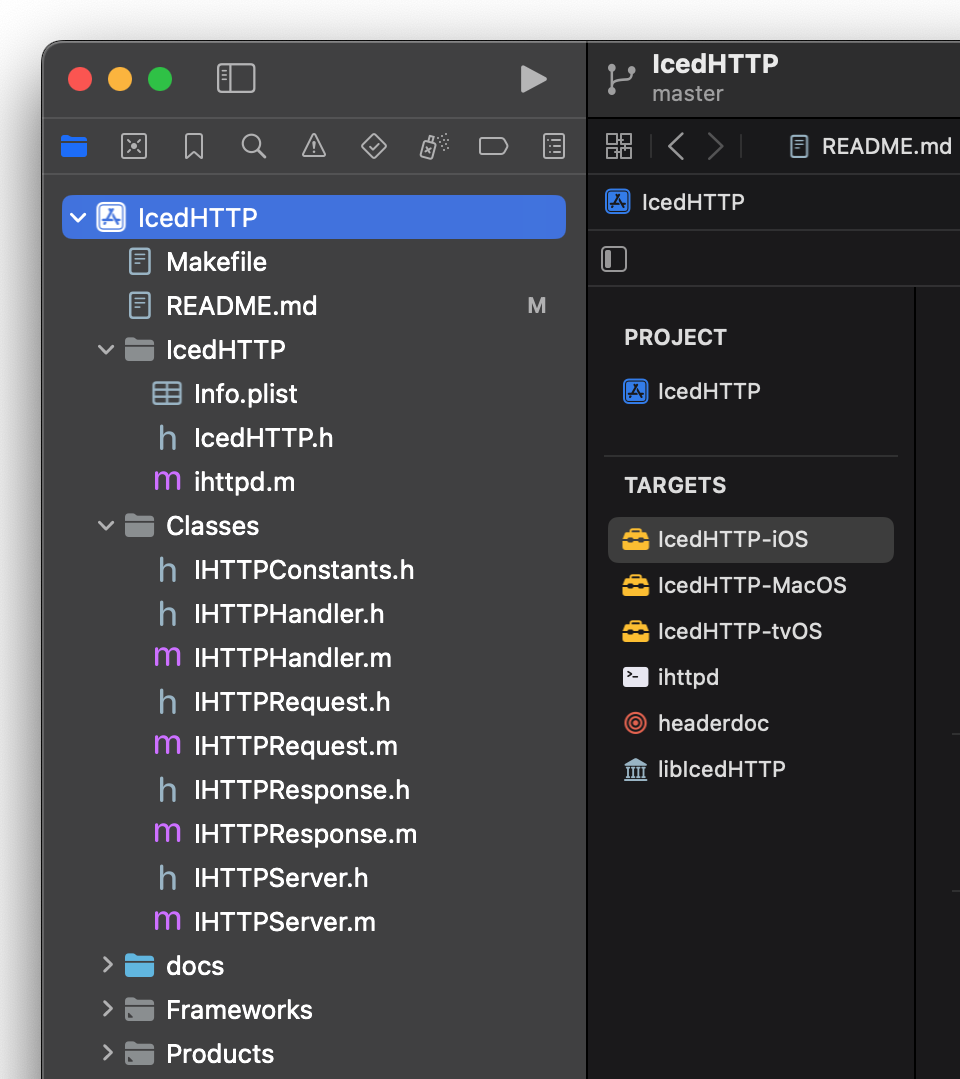
First create the expected structure in the Finder:
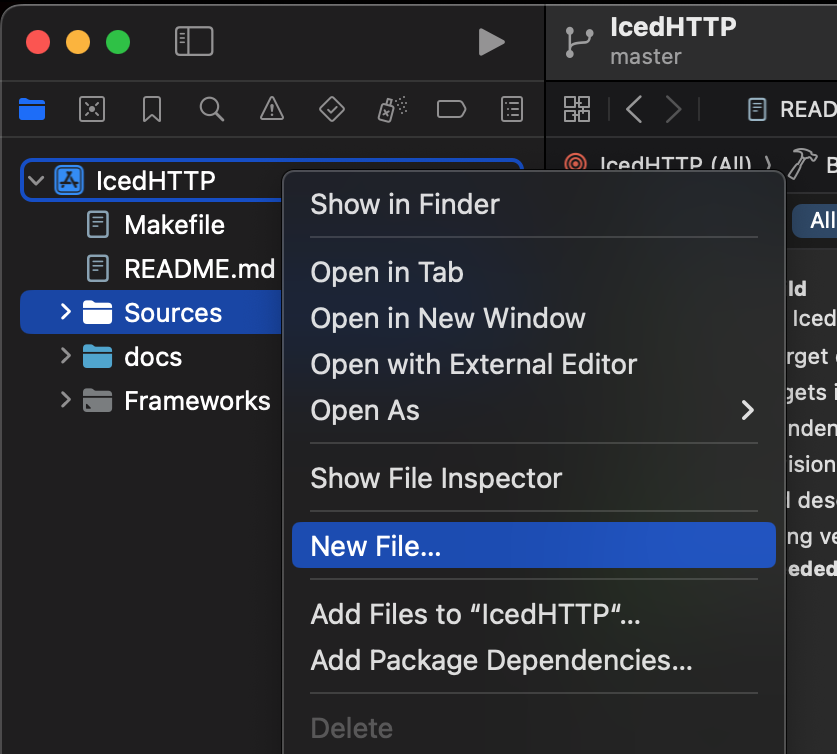
Then add Sources to your Xcode project as a Group:

Move all the .m files and the Info.plist to the Project folder (Sources/IcedHTTP in this example), and move all the .h files to Sources/includes in the Xcode Project Navigator.
You will need to adjust the Info.plist File Build Setting for each Target, this is a good time to update your build schemes (in particular, I like to add a Composite Target for building All the targets in the project):
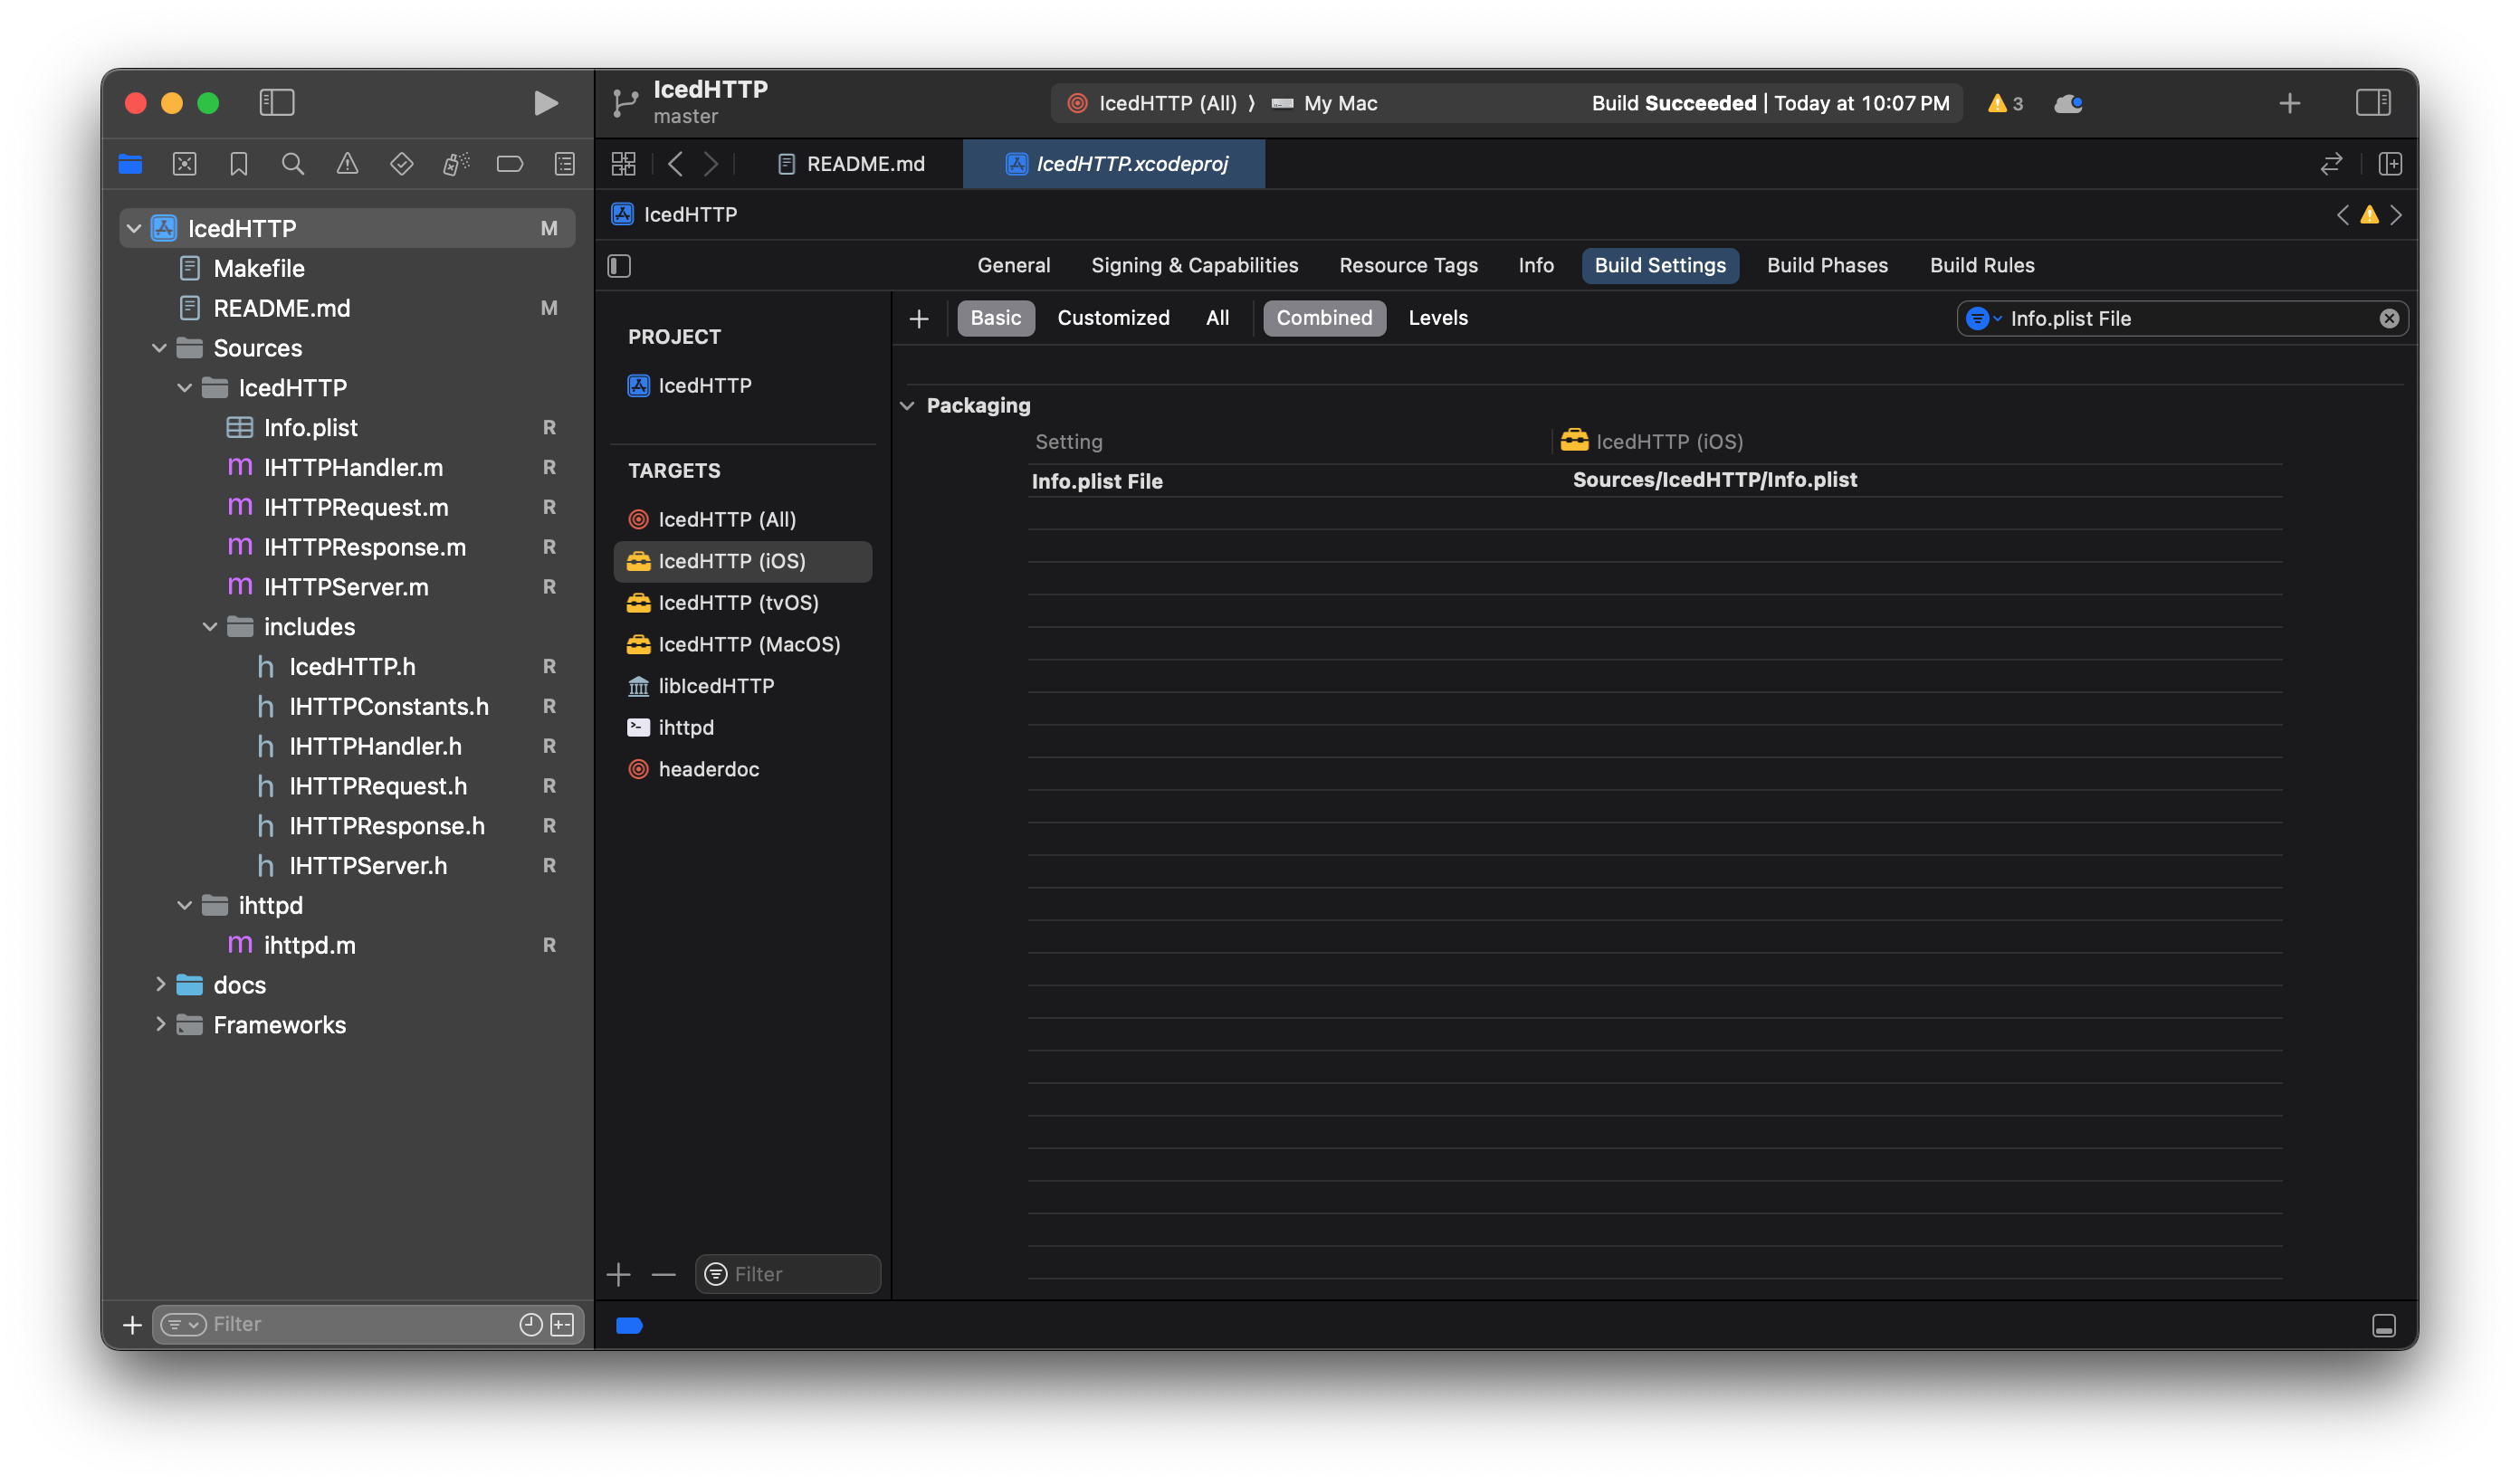
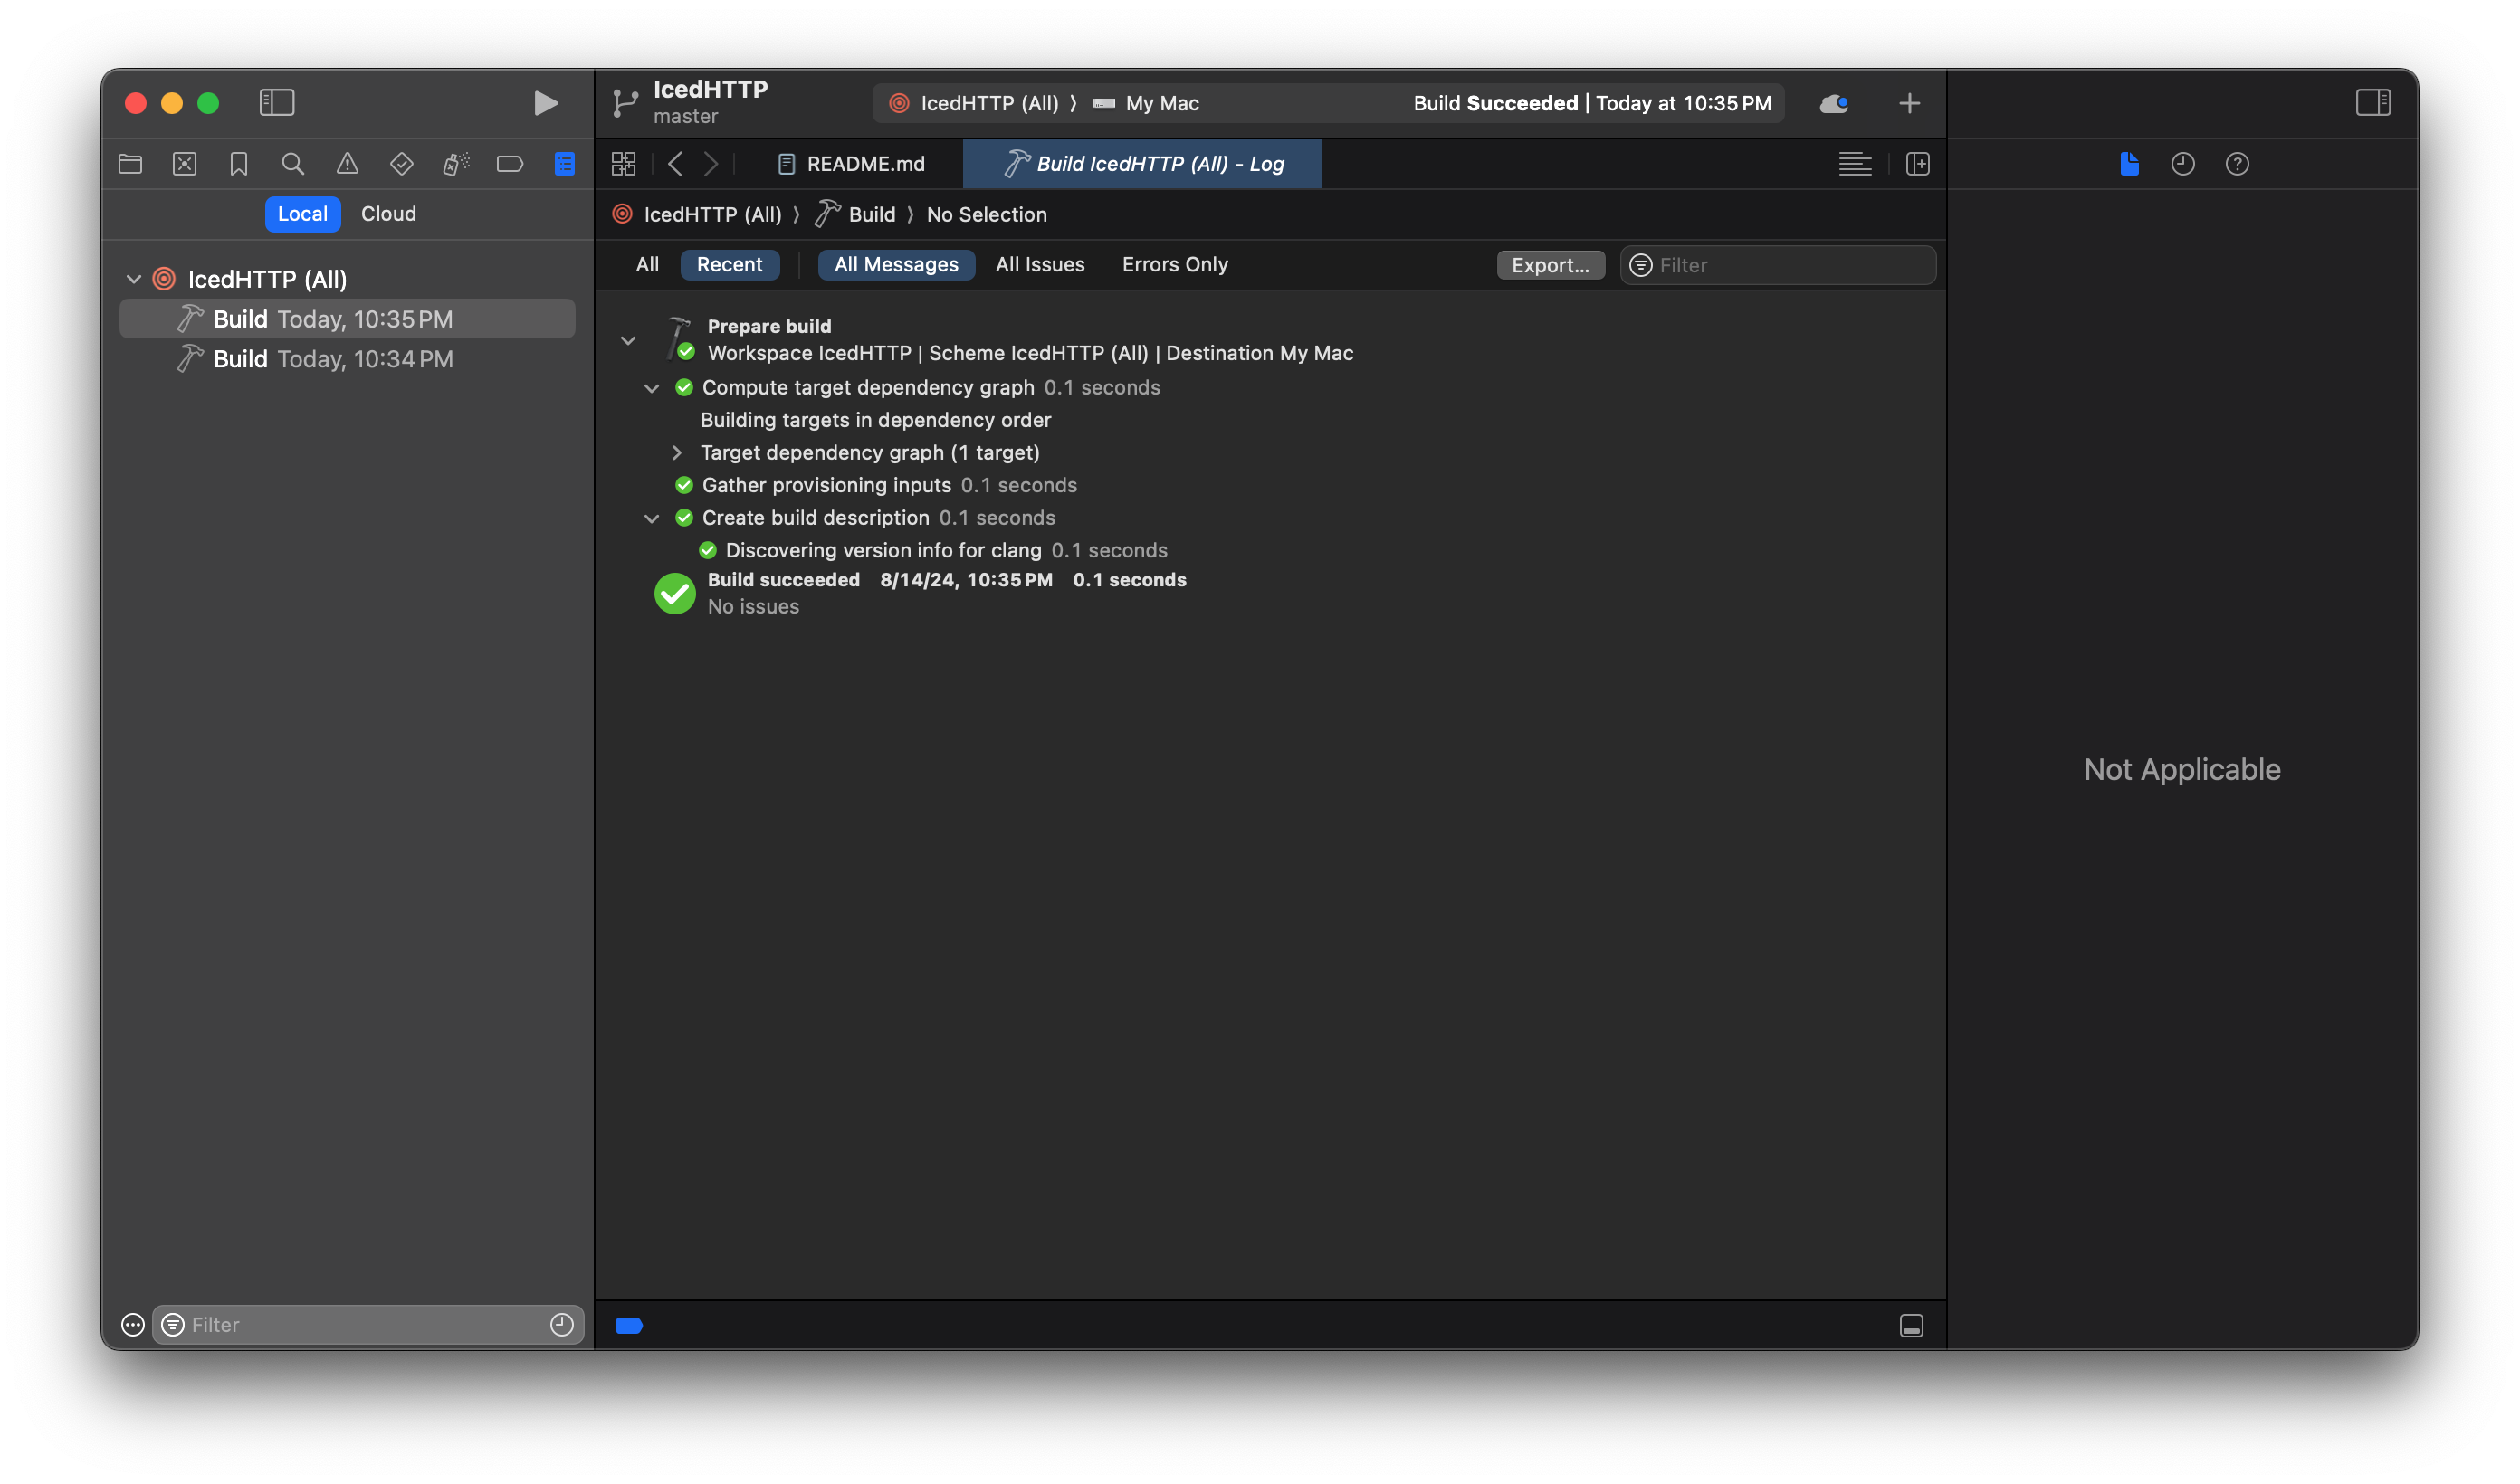
At this point check to make sure all your targets build correctly from the Xcode Project
Now we can define our Swift Package, create Package.swift at the root of the project, next to the Xcode Project

Content of the Package.swift file should look like:
// swift-tools-version:5.10
import PackageDescription

let package = Package(
  name: "IcedHTTP",
  platforms: [.macOS(.v10_14), .iOS(.v14), .tvOS(.v14)],
  products: [
    .library( name: "IcedHTTP", type: .dynamic, targets: ["IcedHTTP"])
  ],
  targets: [
    .target(name: "IcedHTTP")
  ]
)
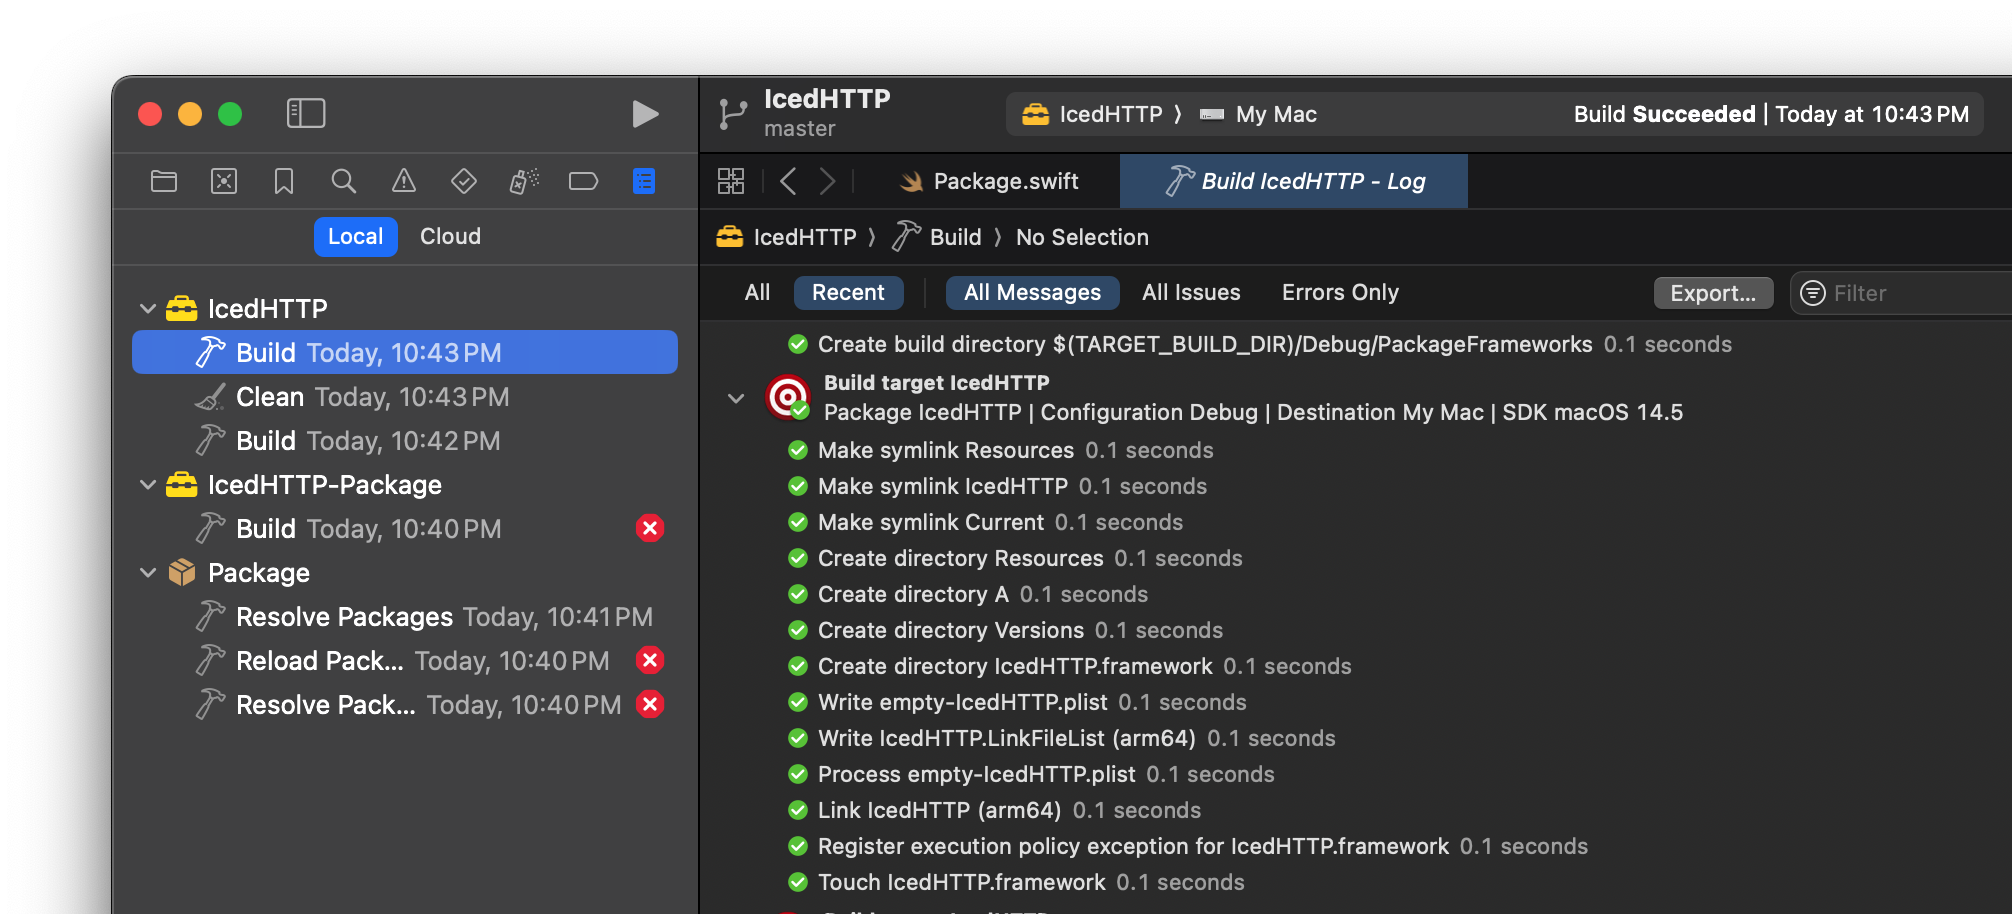
Once that file is saved we can open the Swift Package in Xcode (you don’t have the close the Xcode Project, they can both be open which is handy for cross-checking the Package definition and Xcode builds. Note that the Package Icon replaces the Xcode Project icon in the upper left corner:
Any issues with the Package definition will show up automatically, error messages are generally helpful.
If you get errors like 'Framework/Framework.h' file not found you will need to wrap imports using the SWIFT_PACKAGE compile time #define:
#if SWIFT_PACKAGE
#import "Framework.h"
#else
#import <Framework/Framework.h>
#endif
Once your package definition is correct, you can see the built product, depending on which run destination you have selected. Choose Product -> Show Build Folder in Finder
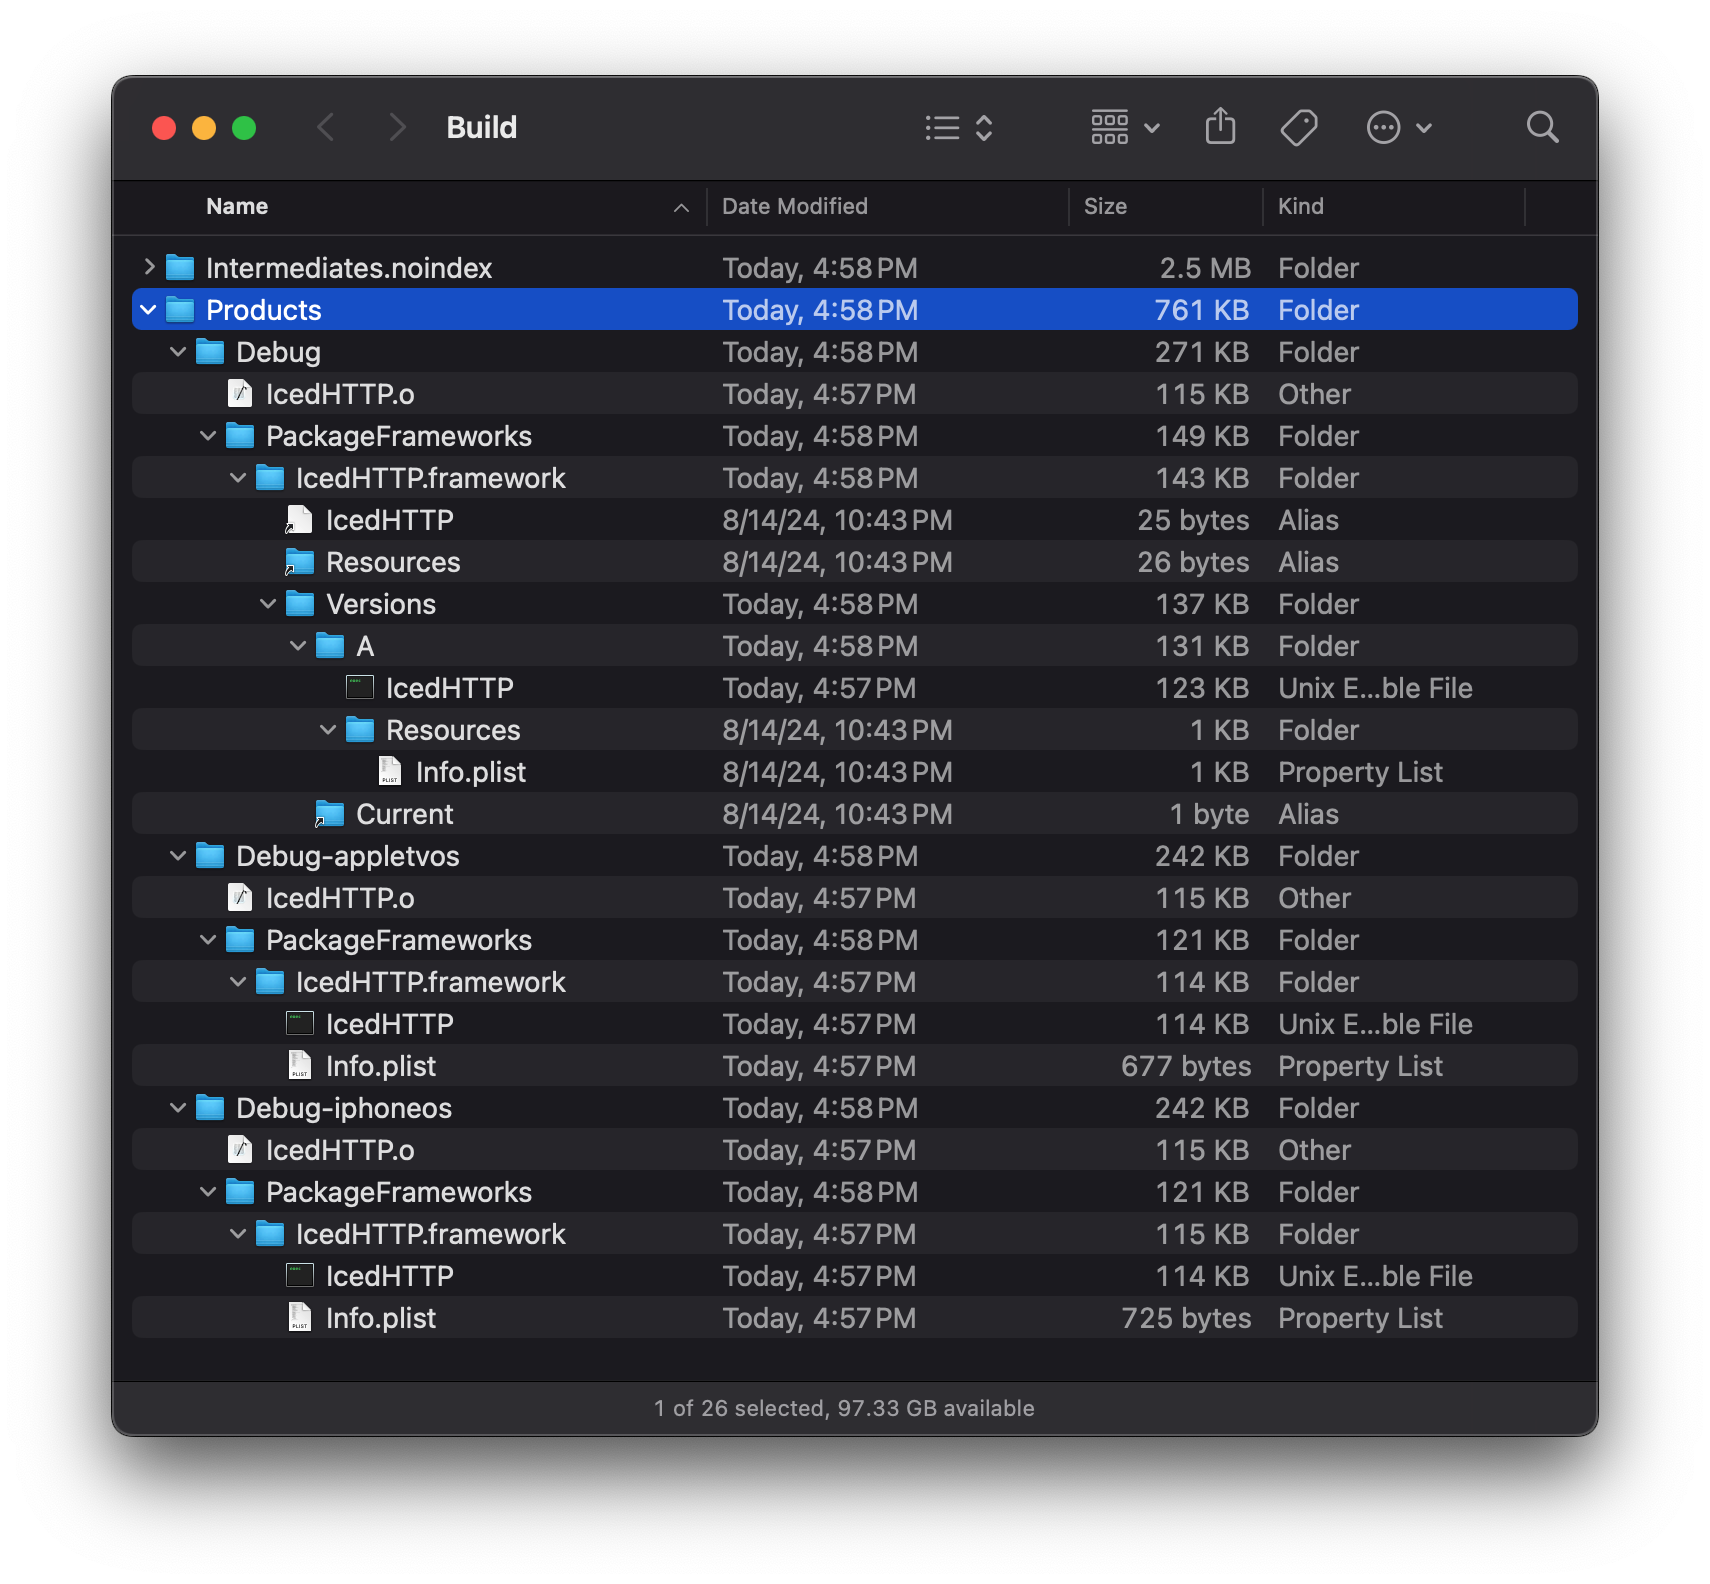
Double check your Xcode Project to make sure you can still build using your configured targets.
Commit your changes to the git repo (you have a git repo, right?) and push them to your favorite git hosting service.
When you want to publish a version of your pacakge, tag your repo with a Sepantic Version String and push to a public repo.